Preparing to Simplify: Part 1
If you are familiar with the Life Made Simple process, you’ll know that I like to follow 3 steps to organize a space and save my client’s sanity:
Simplify
Systemize
Sustain
When I made the switch from my corporate career in healthcare over to stay-at-home mom, I quickly realized that something was missing in my daily routine… I felt like I was constantly running around picking up toys and cleaning, while never finding the time to sit down and be present with my girls.
I was losing my sanity living in a home that seemed to be in a state of constant chaos!
One day, it finally clicked! I had been professionally trained to look at a space and identify the inefficiencies (usually in an operating room), but why couldn’t I apply the same principles in the chaotic areas of our home! Is my kitchen not just an “operating” room, but without the blood (thank goodness)…
This is when I began to develop the Life Made Simple process, starting with the first step - Simplify.
“The hardest thing in the world is to simplify your life. It’s so easy to make it complex.”
You have probably heard me say before that we only use 20% of our belongings on a regular basis. That means that 80% of our stuff is just taking up valuable space - in our closets and in our minds!
We have way more than we need… or actually use.
That is why the first step of the Life Made Simple process is to Simplify.
You may hear different words attributed to the simplification process, such as decluttering, purging, minimalizing, editing, etc.
The simplification part of the process can also introduce mental barriers before you begin to get comfortable with the process of letting things go. Don’t worry we will touch base on overcoming barriers in the coming weeks in the blog!
However, once you start to experience the benefits of simplifying, you will get excited about letting go of more. I promise.
3 tips to prepare to simplify in your home:
1. SHIFT Your mindset
Have you ever experienced that moment when there is complete chaos in your home - toys everywhere, drawers overfull, paper piles taking over, etc. - and it hits you, “I can’t take this anymore!” Your brain has hit its limit and now you HAVE to do something about it.
While you may just want to run away, you know that without a magic wand, there is no way getting around the fact that there is a serious cleaning/organizing project ahead of you.
We all have different thresholds for our brains to hit that point… Mine is admittedly low - ha! However, the threshold is relative, as we all are in the same mental state when it hits, we are reactive.
I have found that there is a huge difference between reacting to your space and proactively evaluating your space. When I start the simplification process, I try to do so with a sense of purpose rather than a sense of stress.
2. Choose a small space
It is common that we typically hit our threshold and feel the need to start the simplification process in a large and daunting space - like the basement or garage. Let me be the one to tell you before you go there - large spaces are neither quick nor easy!
I usually suggest starting with a smaller space so that you can get comfortable sorting through things and moving them as needed to their proper home.
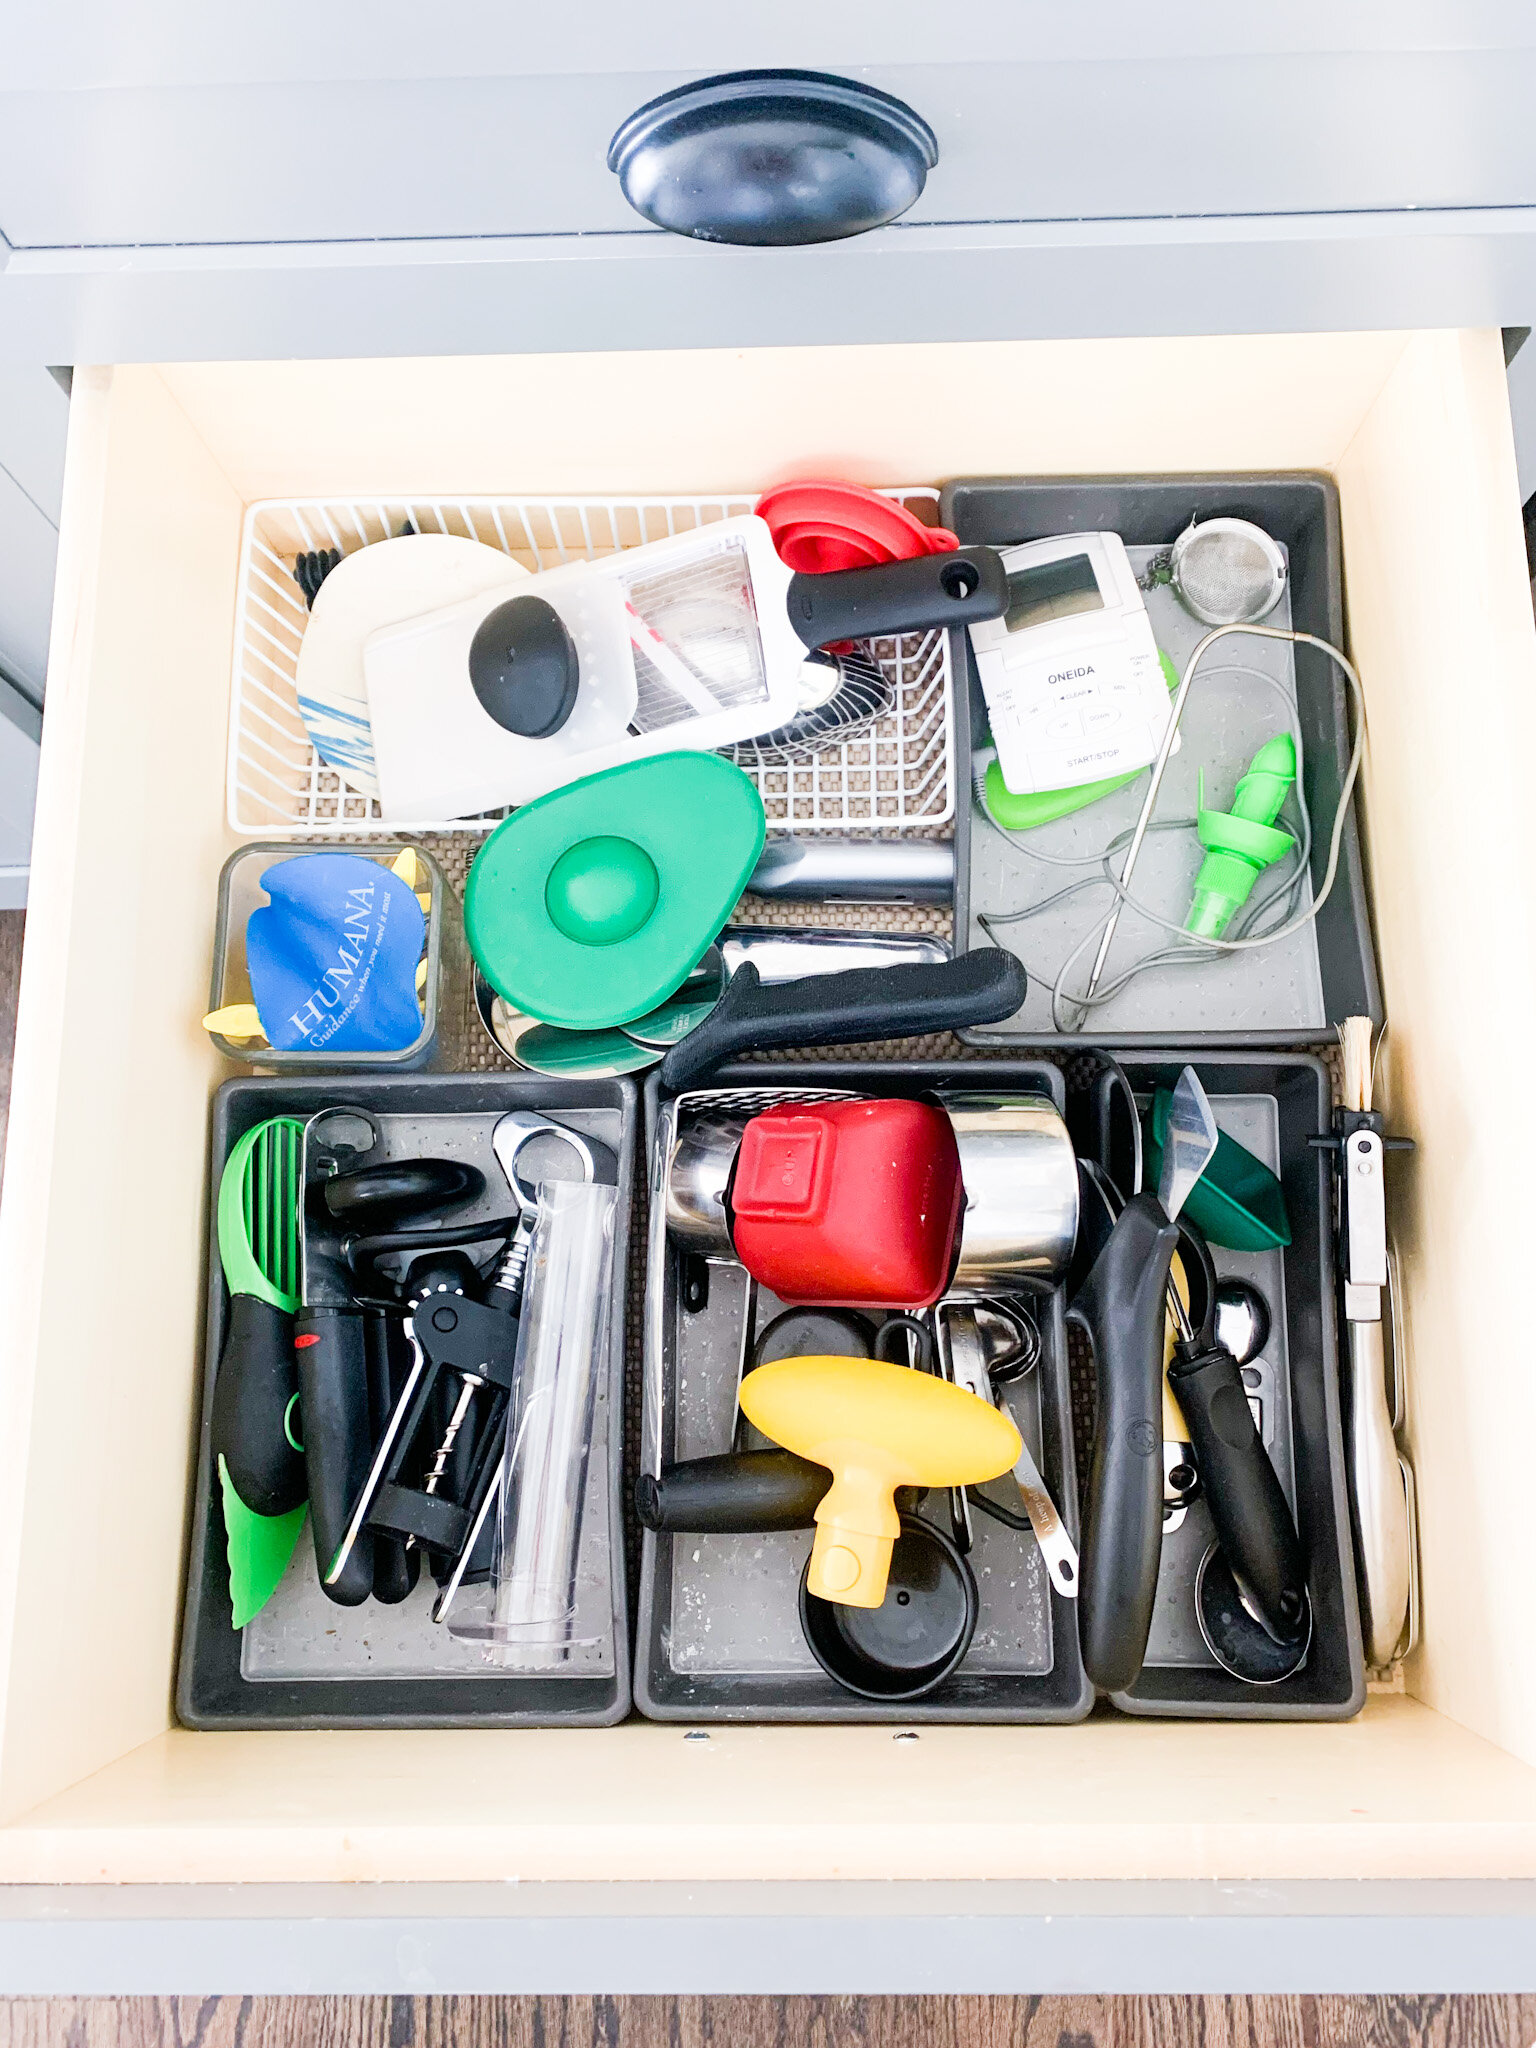
I will be using a kitchen drawer from my home as an example (see pic). This is the drawer BEFORE I start the simplification process.
Follow along in the blog articles coming this month and see this drawer’s step-by-step transformation!
I am choosing this drawer as it is one that I always get irritated sifting through when I am cooking (and my kids love to dig through to find things to play with…ugh!) - this is a great indicator that I need to spend time proactively organizing rather than reacting later when I am fed up and ready to get rid of everything due to frustration!
Tackling a smaller space first allows us to get excited from the accomplishment and gain confidence to tackle the next space!
BEFORE picture
3. phone a friend
Most people underestimate the amount of time it takes to go through a space, even a small one. It can be a HUGE help to have someone there with you to keep you on track to your mission, especially your first decluttering project!
Often times you may be working through some barriers, that make the process of evaluating the things within that space more difficult than you may realize. Sometimes all you need is someone there next to you supporting your efforts to DECLUTTER to get rid of the things you no longer need.
From my experience, I recommend enlisting a professional, a digital course or a good friend to help, preferably not a family member. We love them, but they can be impatient, opinionated, and make deciding what to do with that baby blanket more emotional. This is why I don’t let my husband teach me to ski - ha!
A third party can often provide objective direction, or even some tough love suggestions that are harder to receive from family. Too often we have emotions tied to messages when they come from loved ones.
Next week, we will dive deeper into the Simplification step of the organization process and I will share my Top 5 Tips On How To Simplify.
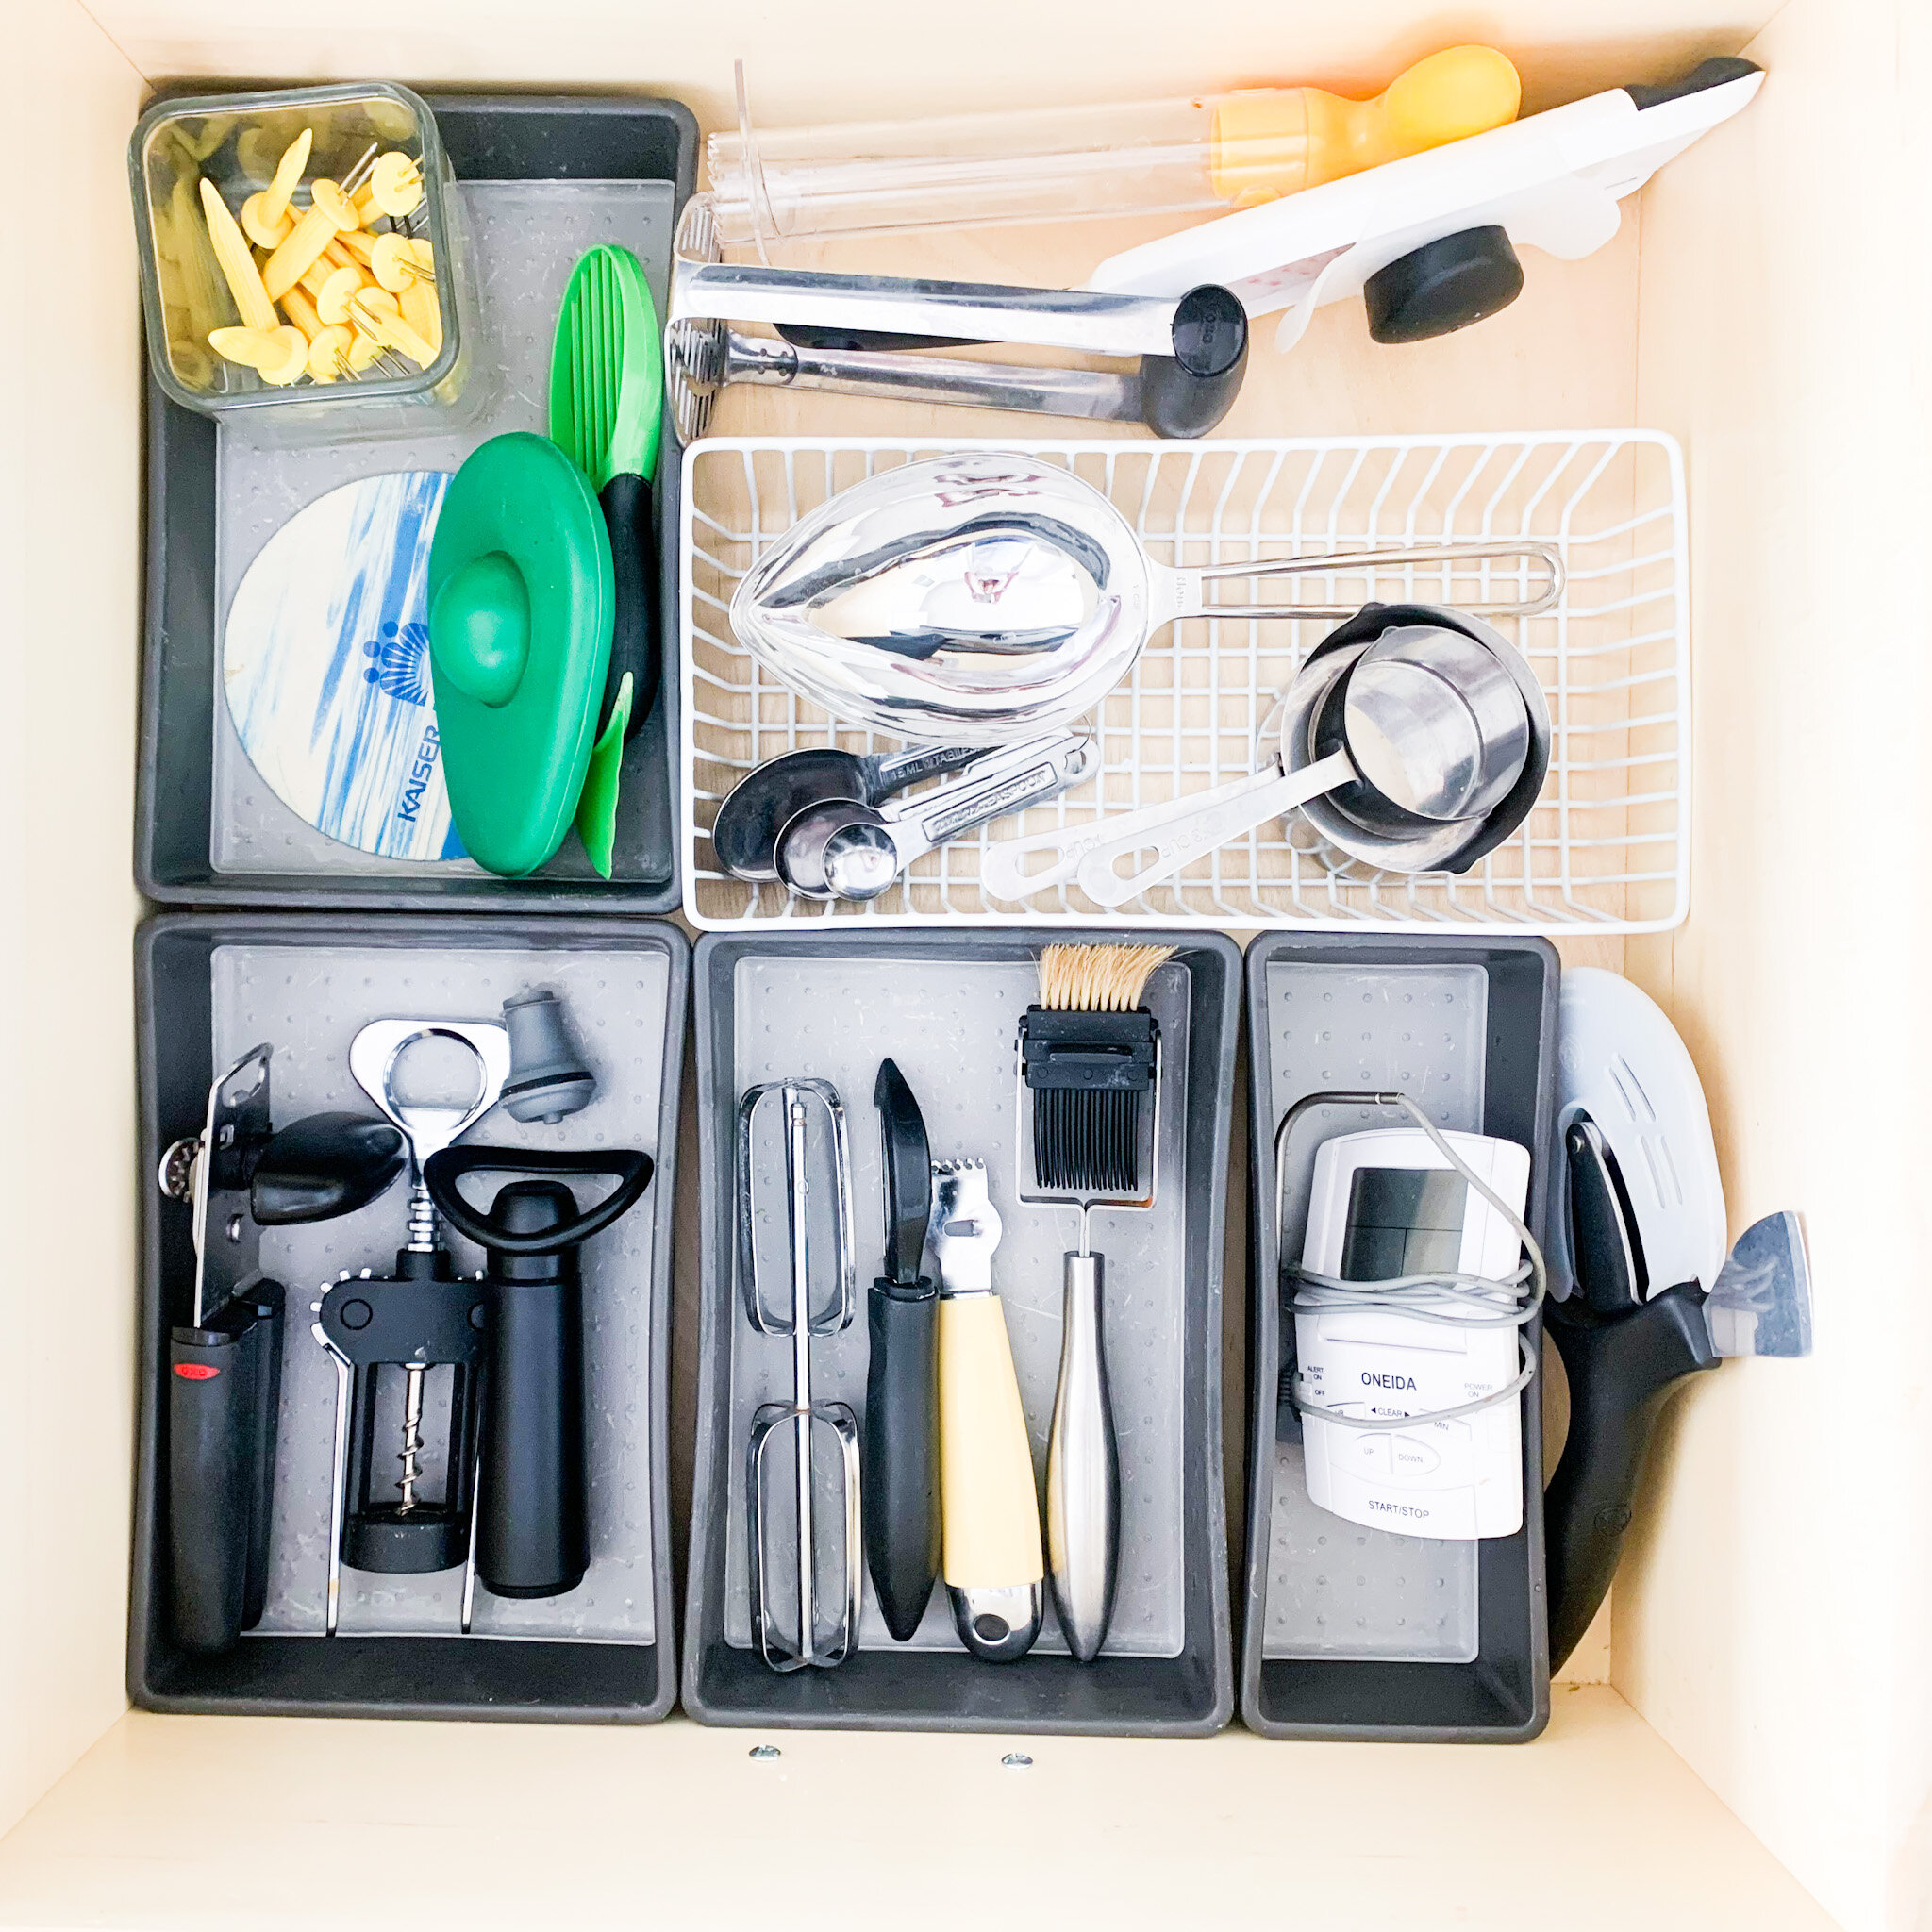
I know you want know exactly how my kitchen drawer BEFORE turns into this AFTER (see pic) - stay tuned!
I will share with you how simplifying can be simple!
This is my finished product! AFTER picture of my kitchen drawer - I can see what I have!


